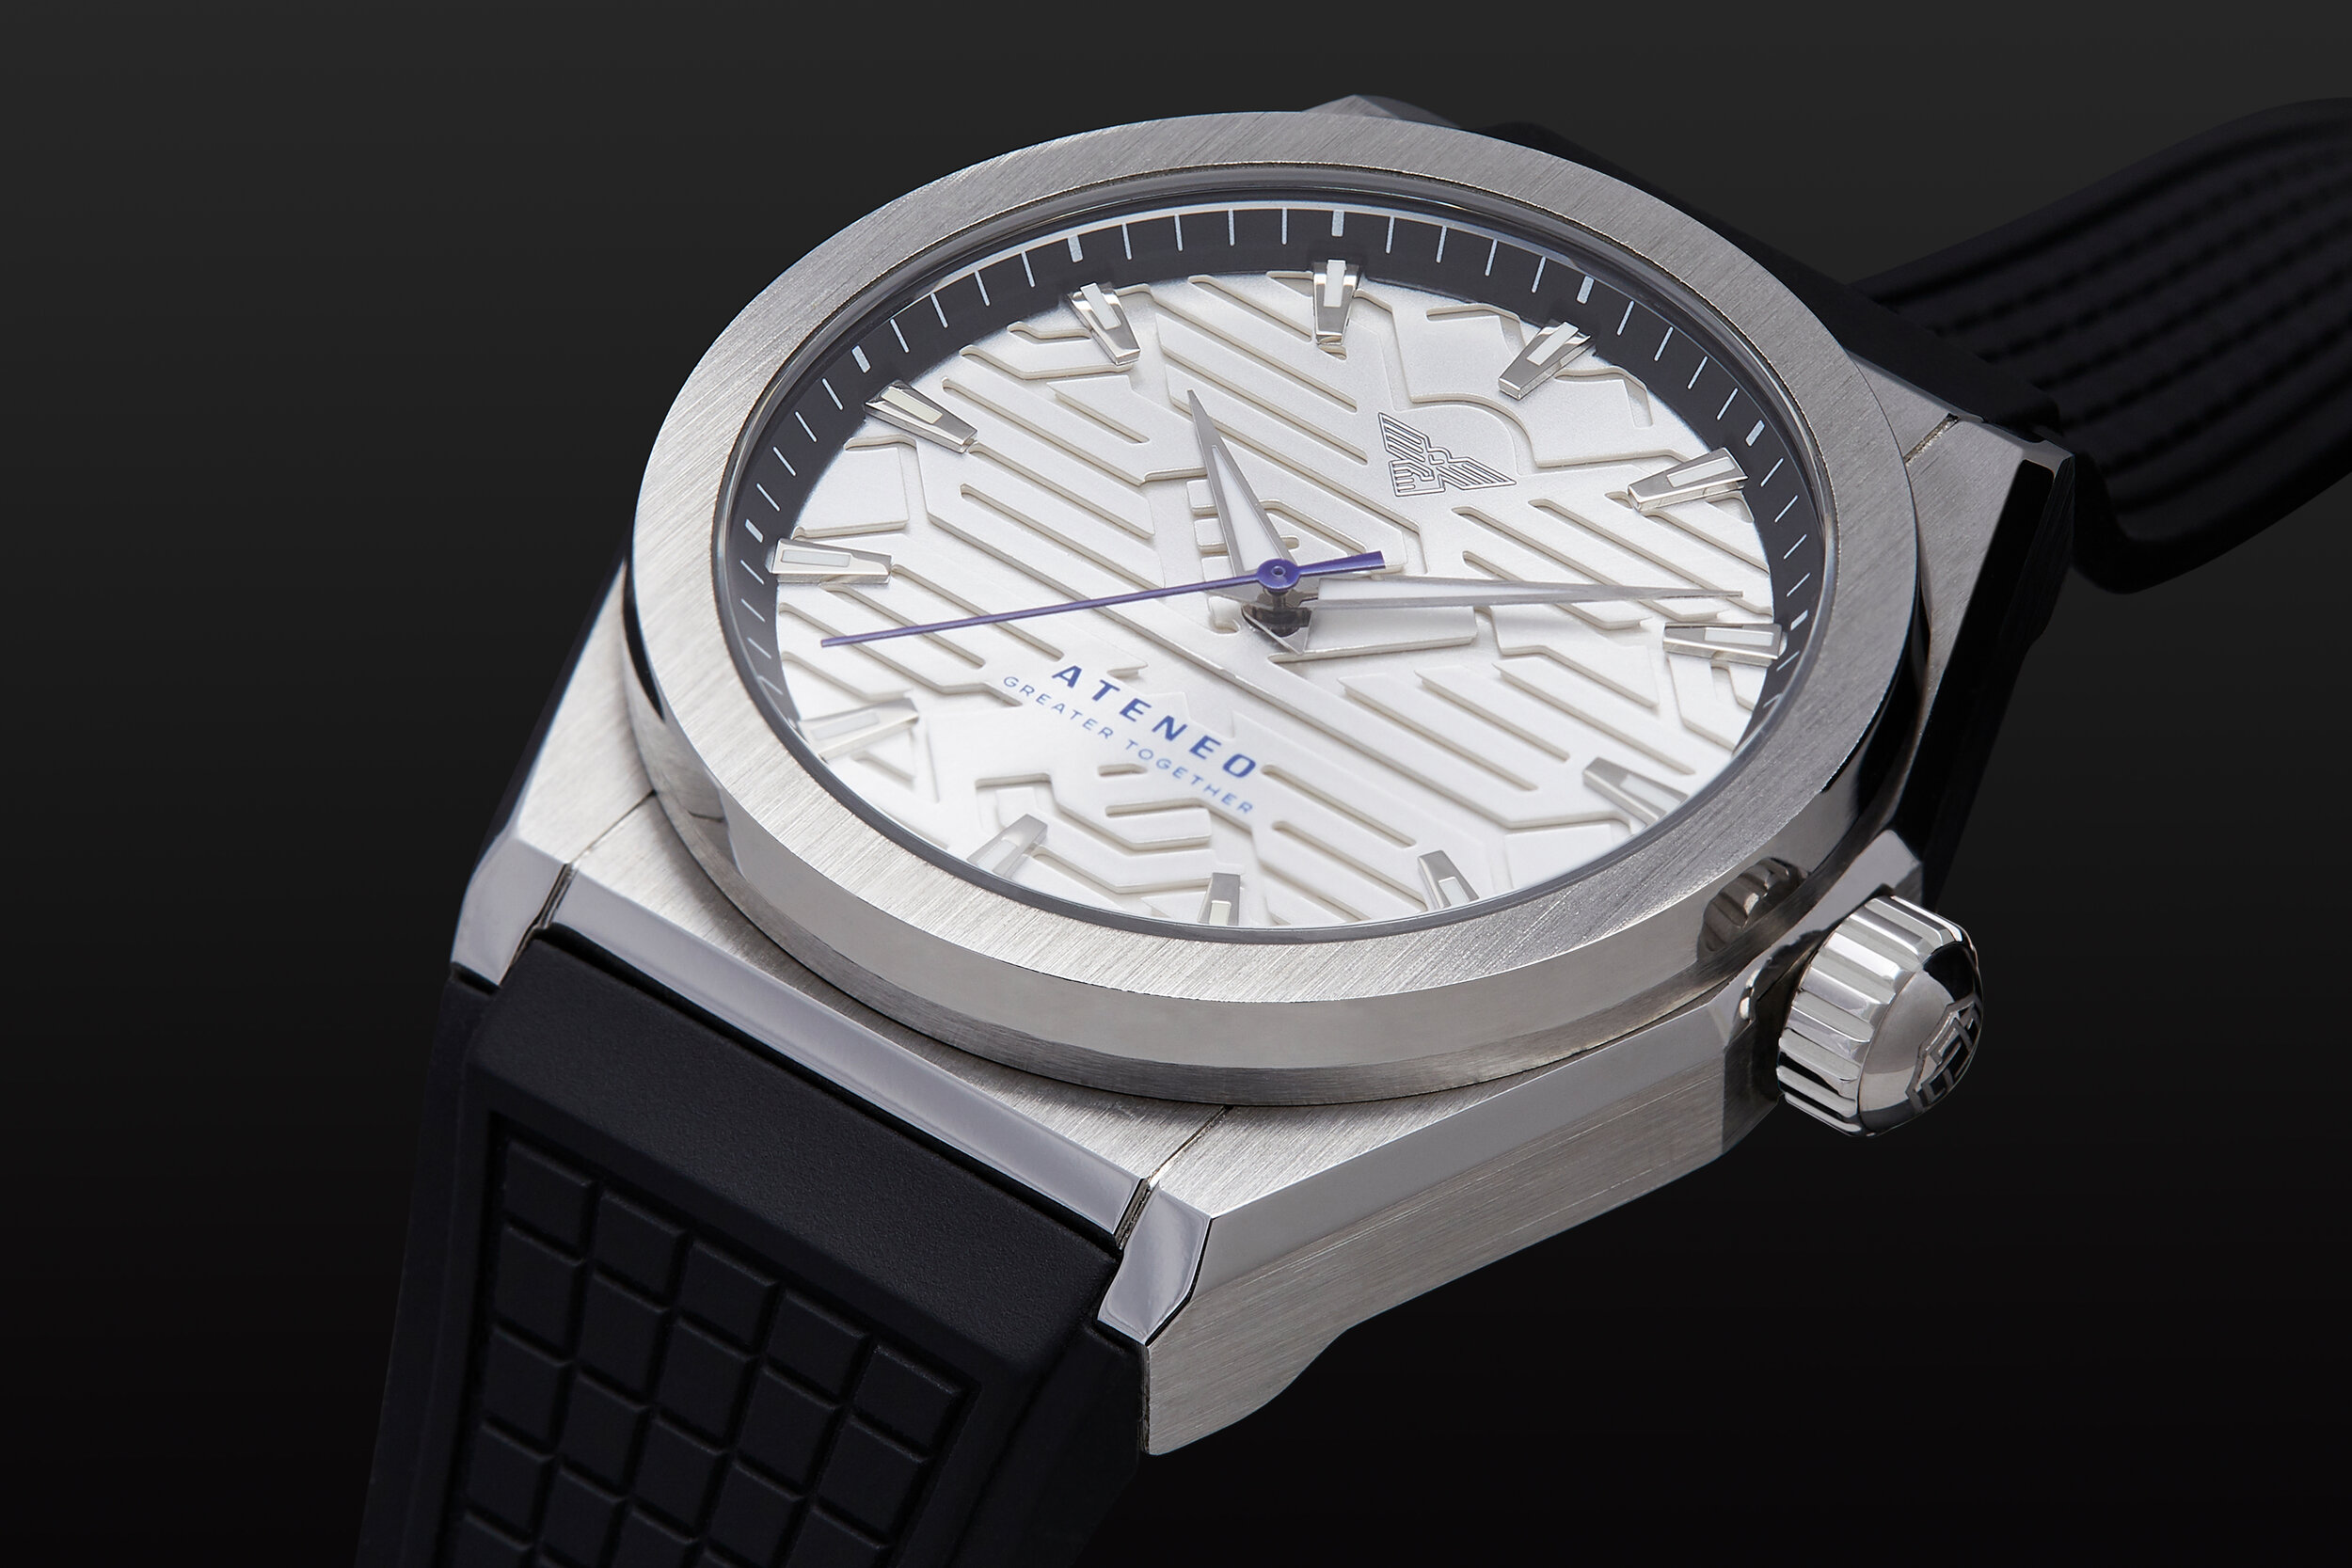
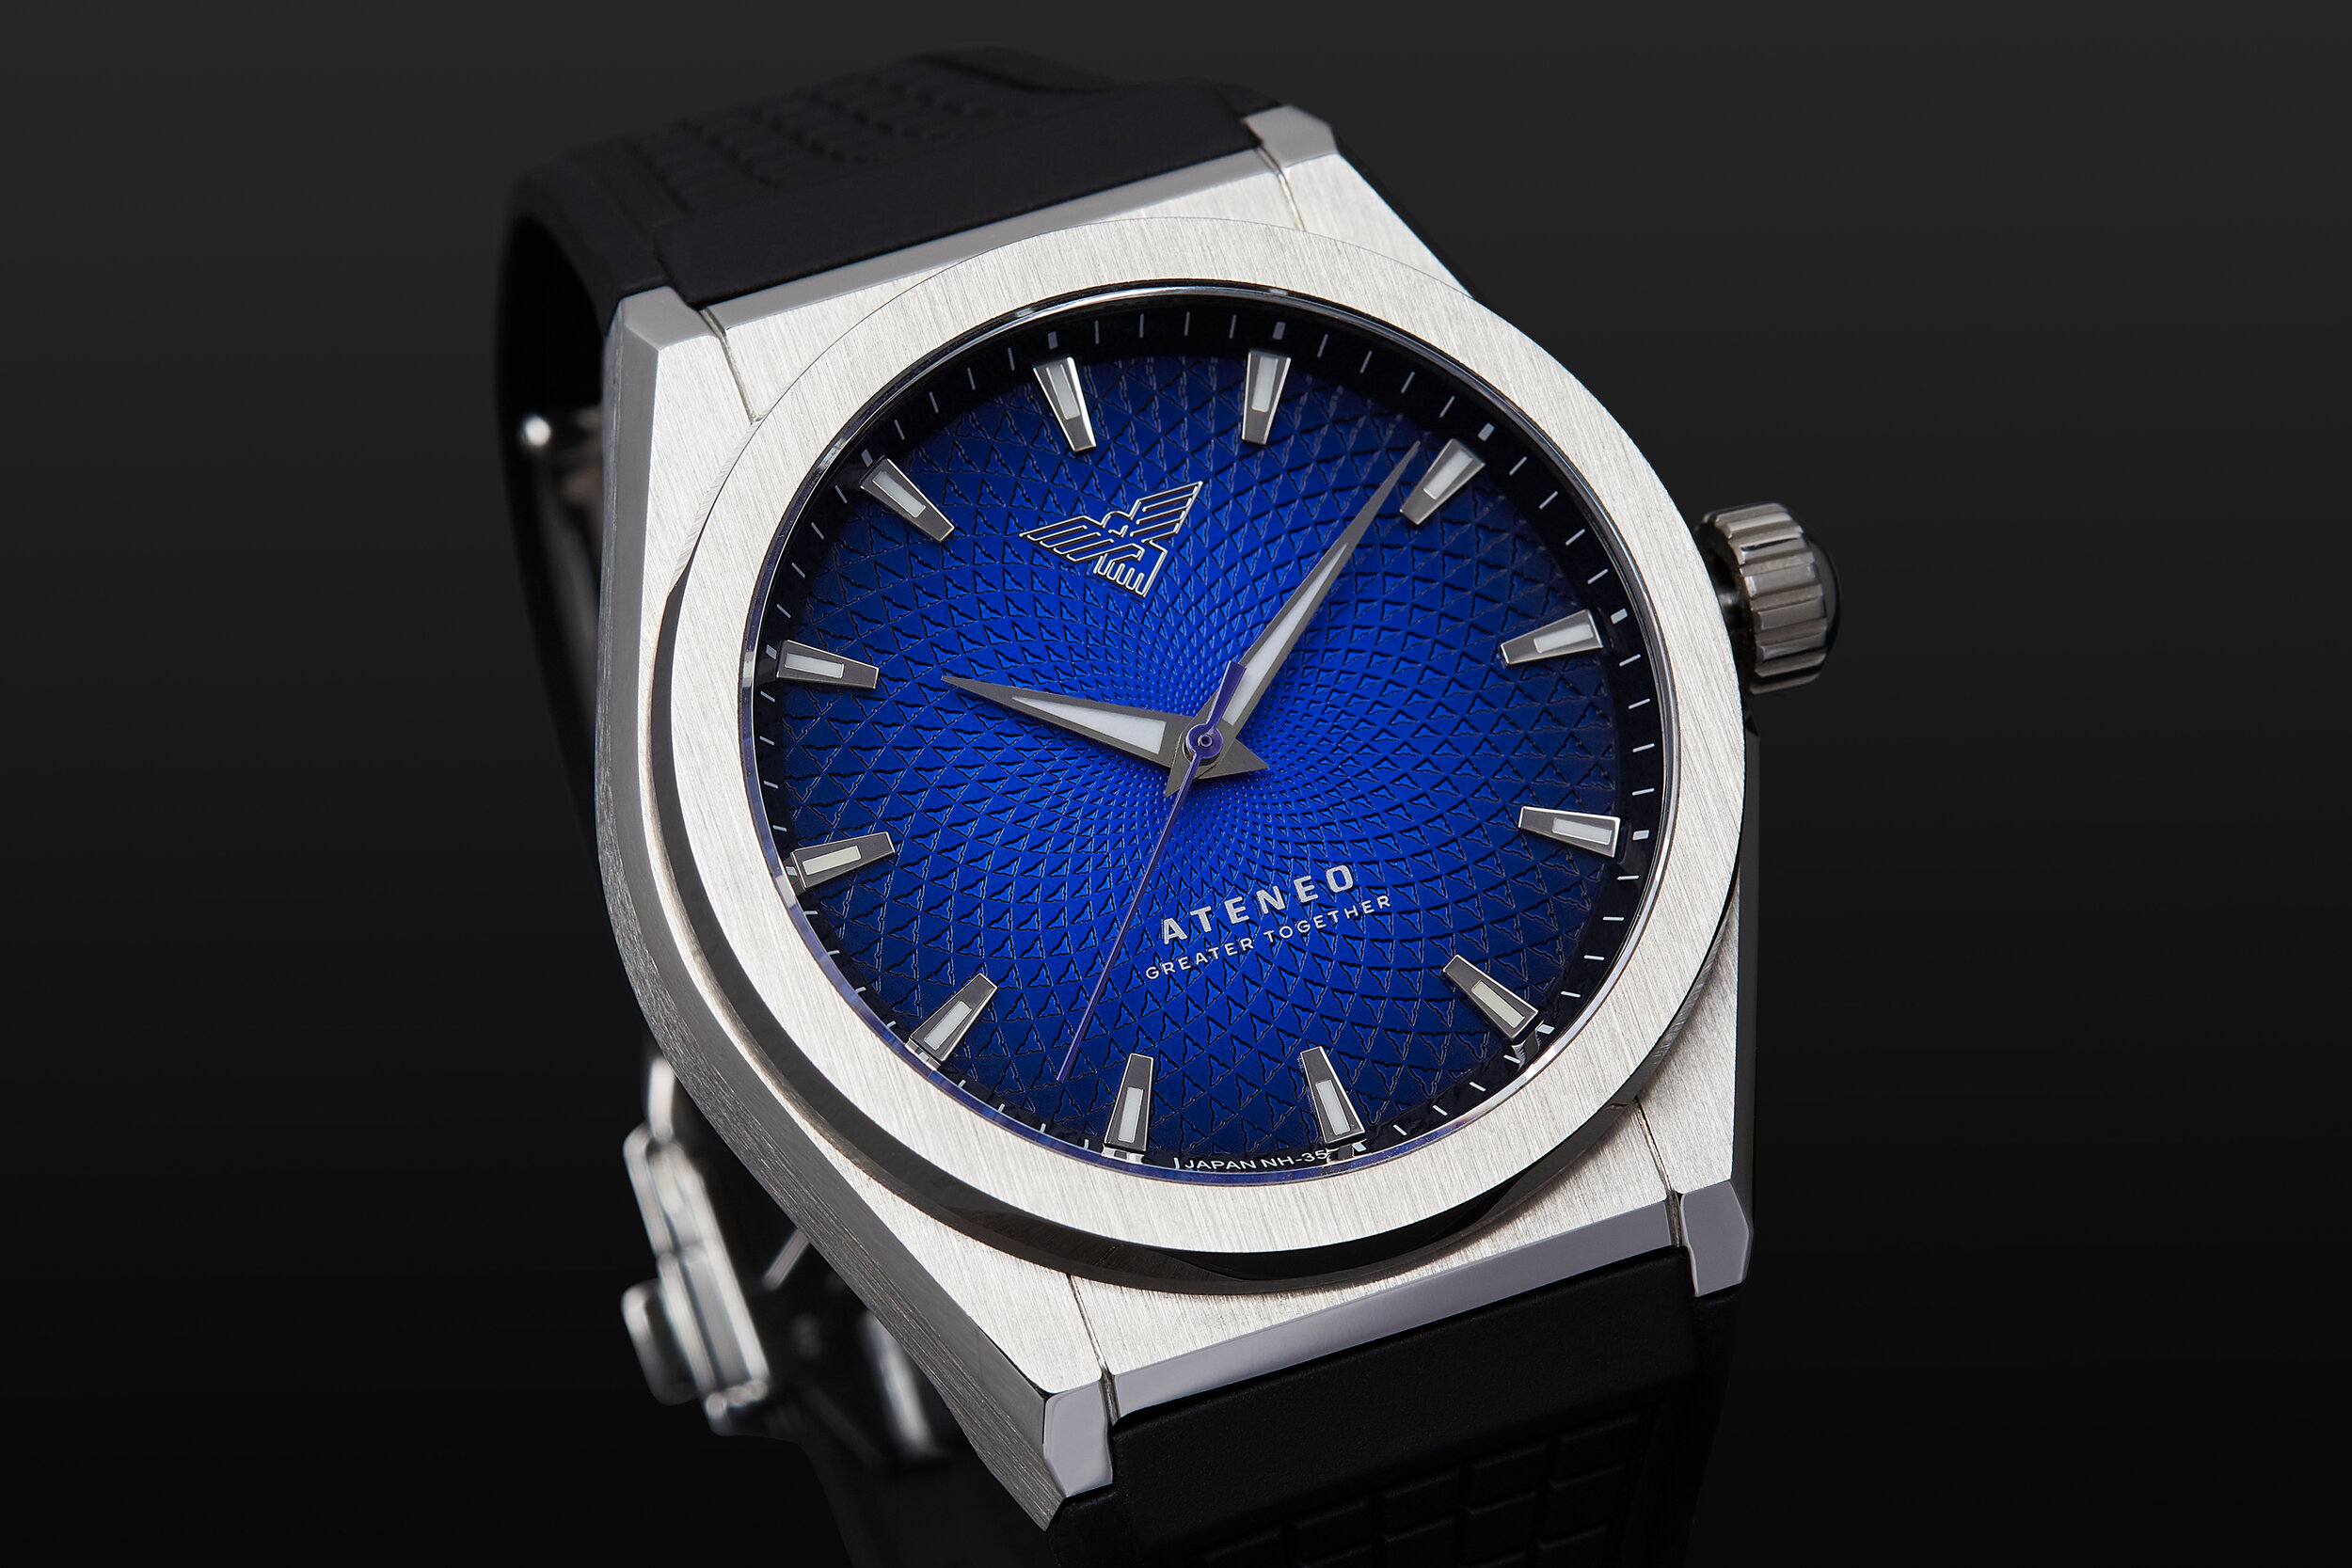
THE SECRETS OF WATCH PRODUCT PHOTOGRAPHY
Let’s face it. Watches are a pain to shoot. And it just so happens that watches, more than any other fashion segment, are heavily reliant on product photography to bring in sales. And while there’s a growing wave of tips and tricks to capitalize on the growing multi-billion e-commerce industry, nothing’s quite as effective as professional product photography.
Varying materials and textures have different lighting requirements, and capturing the little details may need special lenses.
The Challenges of Watch Product Photography
Watches are unique in that they’re made with wide a variety of materials—like glass, metal, and leather—and have different textures that reflect and absorb light in their own way. And what makes them particularly special are all the tiny moving parts inside. This presents specific challenges for photographers. The varying materials and textures have different lighting requirements, and capturing the little details may need special lenses.
Watches are typically reflective, and your lights need to be angled a certain way in order to capture specific details. Then, if you want to capture another detail made from a different material, you’ll need to adjust your lights again. That’s why many, if not most, of the watch product photography you see out there take multiple shots that are combined to create the perfect outcome. Once you have all the shots you need, they’re ready to be put together in post-production.
lifestyle vs PRODUCT-ONLY PHOTOGRAPHY
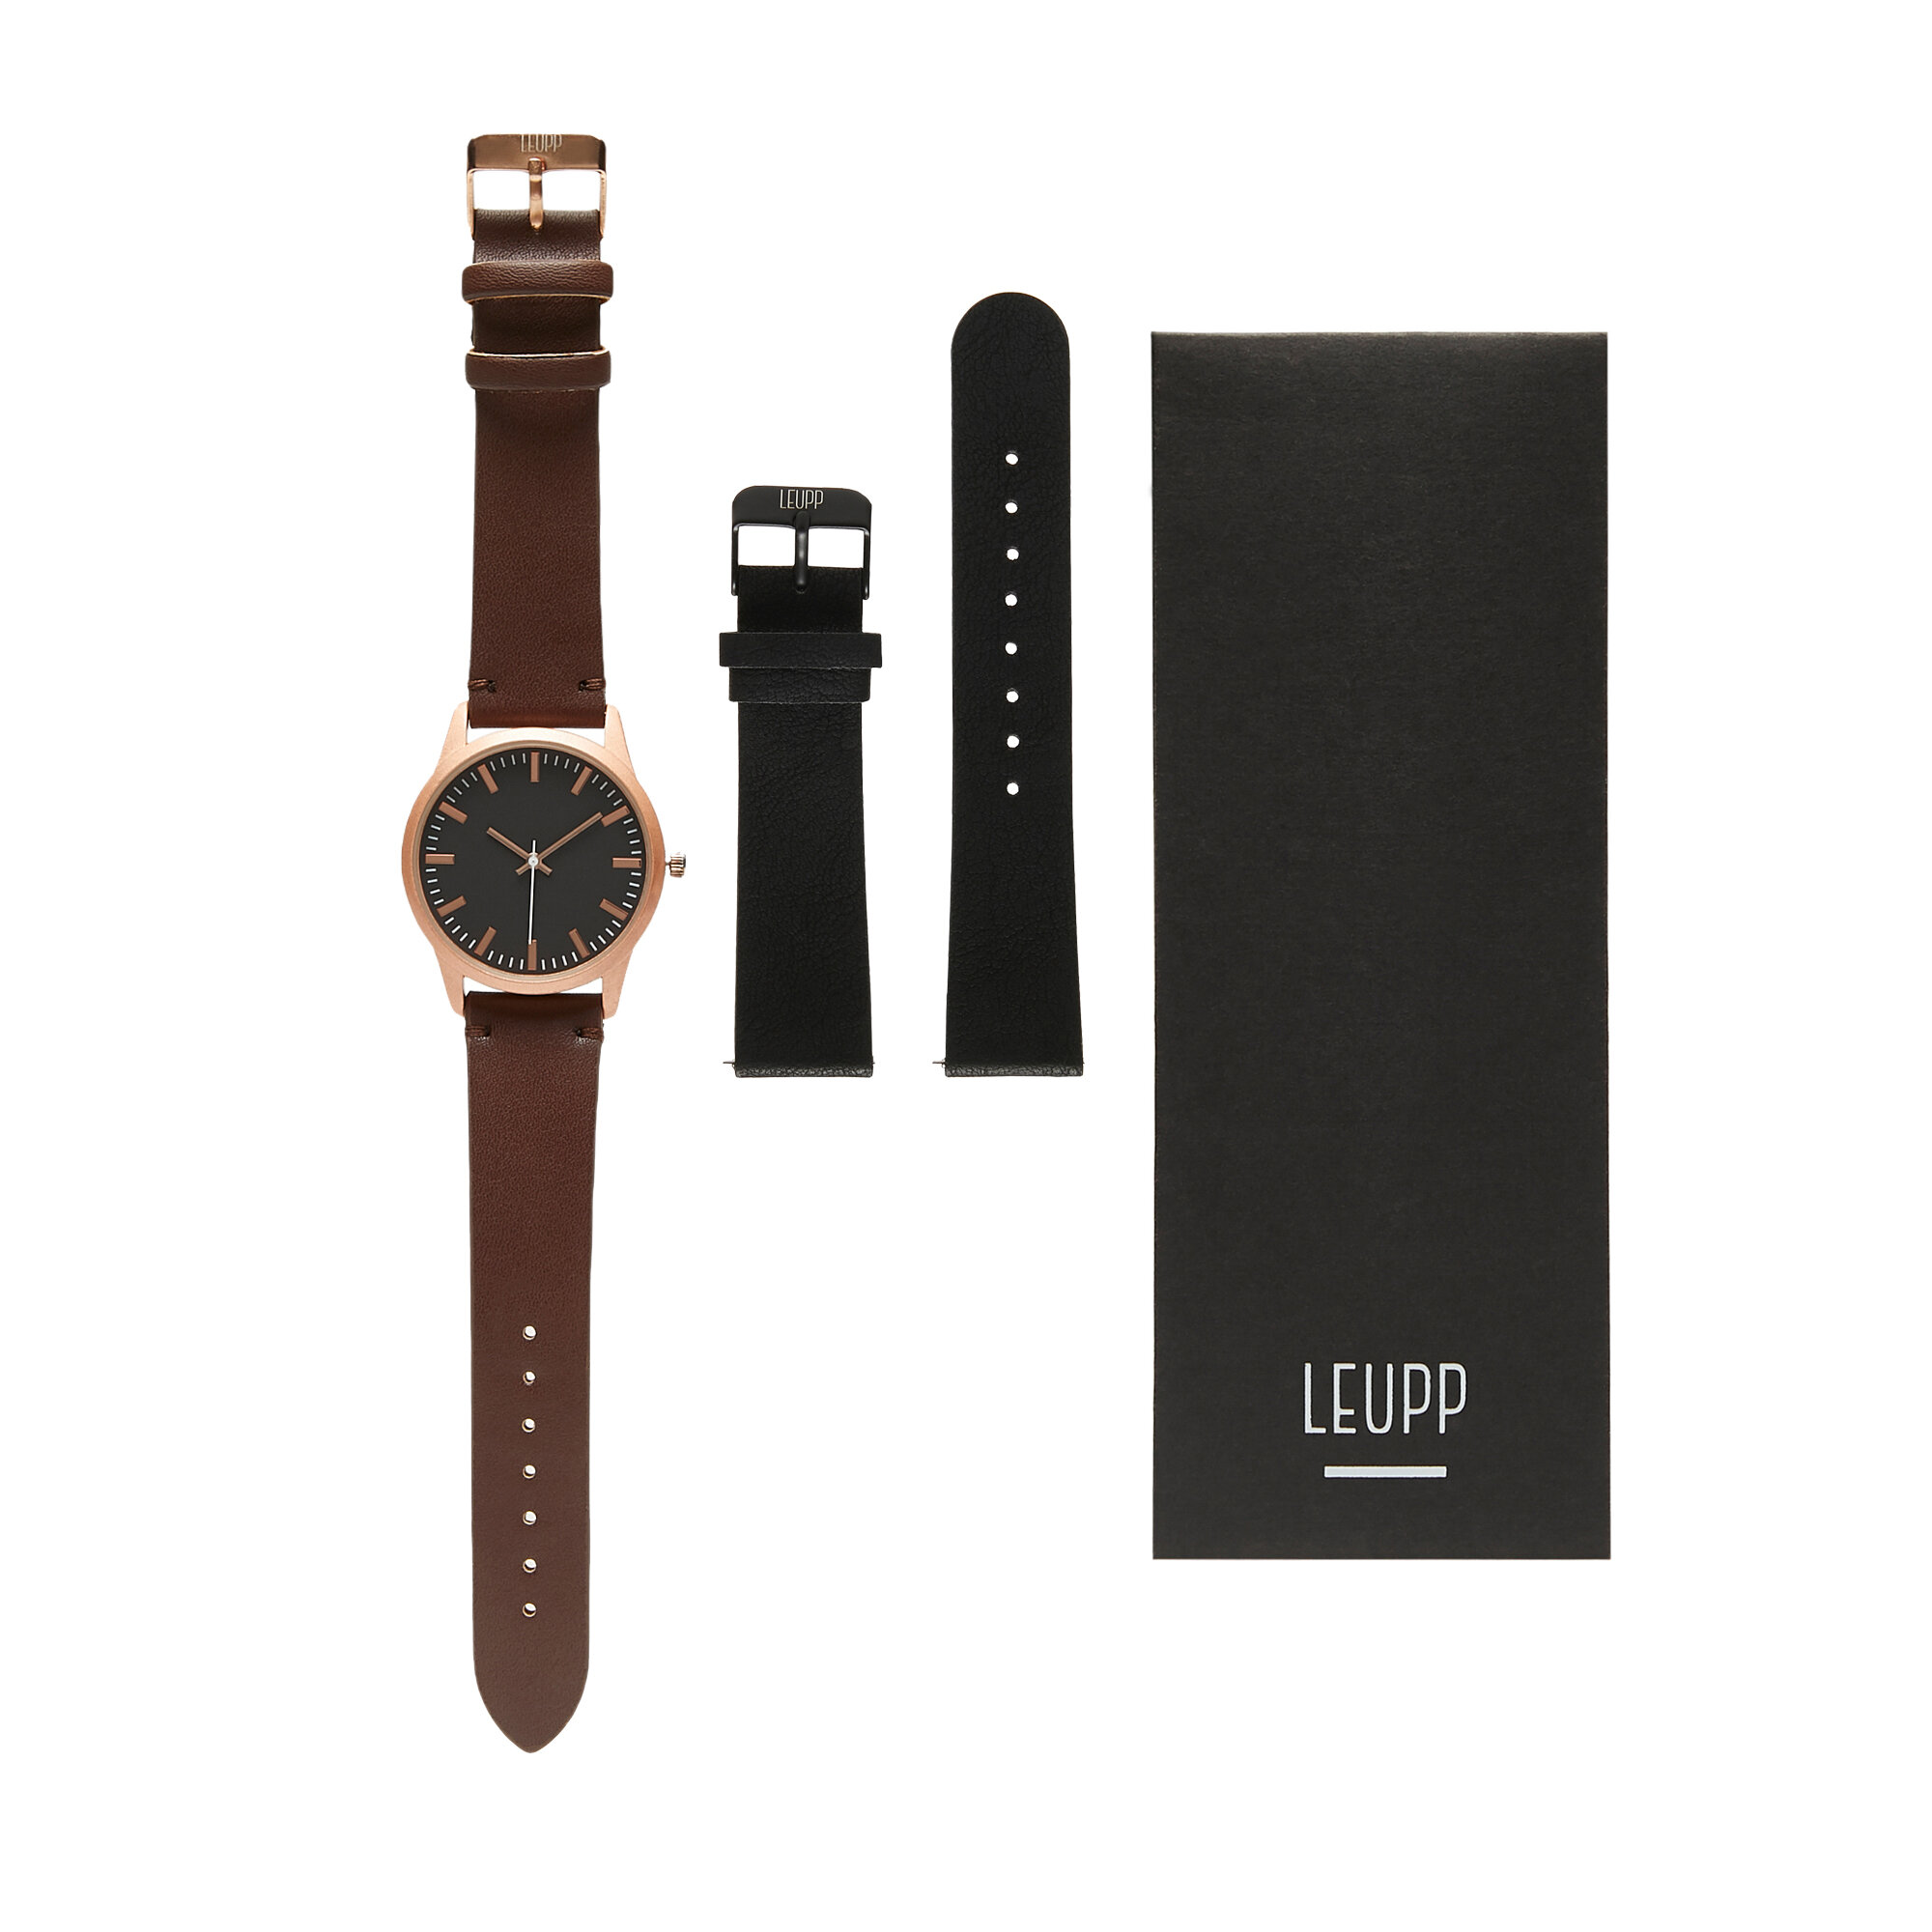
Now, it’s worth noting the differences between the two. If you’re looking to photograph your entire inventory, product-only photography for e-commerce is a good place to start. This typically consists of a white background, with a process that’s optimized for high volume and a quick turnover. Check out our article on lifestyle vs. product-only photography to learn more.
On the other hand, lifestyle product photography, especially for watches, is far more involved, which means it takes longer to shoot, therefore more expensive. However, this option has its own benefits that product-only photography can’t give you. More on that here. Each have their own pros and cons, so you’ll need to base your decisions on what you need.
This is just a very broad overview of what goes into shooting a timepiece. But as they say, the devil is in the details.
First Things First: Cleaning
Any professional product photographer can tell you it’s virtually impossible to get a watch completely clean, which is exactly why you need to be as thorough as possible. Dust can still find its way onto the surface regardless how many times it’s been cleaned or if the stylist used gloves.
A thorough cleaning will save time and effort when it comes to post production.
Lint-free or microfiber cloths, acetone or alcohol, all go a long way in getting the timepiece as close to spotless. Putting in the effort will minimize the time spent on digitally removing these imperfections, so make sure you don’t skip this step.
A Show of Hands
The industry standard is to position the hour and minute hands at 10 past 10, with the second hand around 30 seconds This is to create a sense of symmetry so that the watch face is divided into roughly three equal parts. You may need to pull the crown to set and keep the hands in place, which might also mean you would have to edit the crown back into its original position.
Additionally, depending on the timepiece, this configuration may cover certain design elements that need to be highlighted, so a photographer may choose to deviate from the classical positioning.
In this instance, the second hand sits at 36 seconds so as not to block the logo.
Preparing Your Shot
The first step is finding the right angle, and this can be trickier than it actually sounds. Getting the ideal composition could take seconds or hours. There are infinite variations, whether you choose to use a flat lay, a C-clip, a hand model, lay the watch on its side, you get the picture. The idea is to bring out the piece’s key features.
A simple flat lay against white background.
You can also choose from a variety of backgrounds or props to add to your shot. Consider the different surfaces you can place the watch on, whether it’s wood, metal, stone, or cloth. An aviator calls for a different context from a diver’s watch, as would a military one or a chronograph. Use your imagination and have fun with it.
You could easily be working for hours before you actually need your camera and start setting up your lights. You’ll often take several dozen shots before you even start to get the shot you’re looking for, and that’s when the fine tuning begins.
Optimize the distance between the camera and object, and make sure you’re framing isn’t too narrow to allow for more light and give you some allowance in editing. You can always fix your composition in post if you think your shot is too wide.
DON’T FORGET YOUR MACROS
The macro lens is an indispensable piece of kit for any professional photographer’s arsenal. Although some will argue you don’t actually need one for watch photography, there’s simply no substitute for being able to shoot anything up close in order to capture every detail. That’s because, as you move closer to your subject, a standard lens will only be able to stay in focus until a certain distance.
Let There Be Light
Lighting your subject can be as simple or as complicated as you want it to be. You can use anything from diffused natural light to a full blown artificial lighting set up.
A typical DIY watch product photography set up is to place the piece near a window and use a reflector to bounce the light onto the darker side of the watch. The reflector effectively creates a second light source and helps even out the lighting of your subject. You can use anything that’s white, like a box or sheet of paper, but avoid using anything with color.
Experiment with the position of your light to avoid any unwanted reflections, and use reflective or absorbent material to add or omit light depending on what the shoot calls for. You might find you have to prioritize the most important details to capture and may have to sacrifice other aspects for the sake of the whole.
Shooting Tethered and Focus Stacking
When it comes to watch product photography, it’s advisable to shoot tethered, on a tripod, and with a trigger. That means the camera, lights, and computer all work in sync. The tripod and trigger prevent any movement that might result from pressing on the shutter, which could lead to the shot becoming out of focus.
The closer you are to any subject you are trying to photograph, the more visible the shake. Even the tiniest movement can affect the sharpness of your photo. Even the mirror flipping up can cause enough vibration to render the shot out of focus. Use the camera’s mirror lock-up function if there is one. It’ll flip the mirror first just before the camera takes the photo to prevent even the slightest movement. This way, the camera and object don’t move, and you’re free to adjust the light and reflectors.
Now you’re set up for focus stacking. A technique often used in watch product photography, focus stacking lets you light and focus specific parts of the timepiece. When you’re shooting up close to capture individual details, you’ll find that shooting the watch’s crystal, for example, may make other parts like the case and crown go out of focus. Focus stacking lets you get over this hurdle by allowing you to take multiple shots from the same exact angle, each focusing on different parts of the watch. Then you can layer these shots in post-production where all the elements are captured in vivid detail.
A focus slider makes it much easier to execute focus stacking.
When Time is of the Essence
Given the complexity of everything that goes into capturing a single shot, watch product photography becomes unavoidably time-consuming and expensive. Not only does it take a tremendous amount of time, but it also requires a very specialized skill set that only certain photographers possess. That’s why it could take up to 3 to 4 hours just to get that one product shot, plus another few hours putting it all together in post.
If you’re looking for professional watch product photographers, you’ve come to the right place! Send us a message to find out more about e-commerce photography solutions.
https://www.squareshot.co/post/watch-photography-that-works-time-after-time-again
https://www.fratellowatches.com/10-tips-for-better-watch-photography/


